MO-300 Online Practice Questions and Answers
On the ‘’Extra Activities’’ slide, insert a row at the end of the table. In the row, enter ‘’Sporting Event’’ in the ‘’Event’’ column and ‘’$175’’ in the ‘’Price’’ column.
A. See the Steps below
B. PlaceHolder
C. PlaceHolder
D. PlaceHolder
After the ‘’Extra Activities’’ side, create slides by importing the outline from the Destination documents in the Document folder.
A. See the Steps below
B. PlaceHolder
C. PlaceHolder
D. PlaceHolder
On the ‘’Admission information’’ slide, configuration a Down motion path animation for the check mark icon.
A. See the Steps below
B. PlaceHolder
C. PlaceHolder
D. PlaceHolder
Configure the printing options to print three copies of the Notes Pages for all slides. All copies of page 1 should print before any copies of Page 2.
A. See the Steps below
B. PlaceHolder
C. PlaceHolder
D. PlaceHolder
On slide 4, add the Swivel animation to the gazebo image.
A. See the steps below.
B. PlaceHolder
C. PlaceHolder
D. PlaceHolder
On slide 3, use the 3D Models feature to insert the Foundation model from the 3D Objects folder, Resize
the model to a height of 4’’ (10.16.cm). Place the model to the left of the bulleted list.
The exact position of the model does not matter.
A. See the steps below.
B. PlaceHolder
C. PlaceHolder
D. PlaceHolder
On slide 2, in the content placeholder, insert a Vertical Curved List SmartArt graphic. Label the first shape ‘’Structures’’ and the second shape ‘’Perennials’’, Delete any unused shapes.
A. See the steps below.
B. PlaceHolder
C. PlaceHolder
D. PlaceHolder
On slide 4, change the chart type to a Clustered Bar chart.
A. See the steps below.
B. PlaceHolder
C. PlaceHolder
D. PlaceHolder
For all slides, set the transition duration to 3 seconds.
A. See the steps below.
B. PlaceHolder
C. PlaceHolder
D. PlaceHolder
On slide 2, reverse the stacking order of the screen images so the smartphone is in front, the table in the middle, and the monitor in back.
A. See the steps below.
B. PlaceHolder
C. PlaceHolder
D. PlaceHolder
You are revising a recipe presentation for your cooking class.
On the ‘’Ingredients’ layout of the slide Master, change the first-level bullet to use the CheckBox image
from the Pictures folder.
A. See the steps below.
B. PlaceHolder
C. PlaceHolder
D. PlaceHolder
On slide1, configure the audio clip to fade in for 2 seconds when the user clicks the audio icon. Configure the settings so the audio clip plays only one time but continues across multiples slides.
A. See the steps below.
B. PlaceHolder
C. PlaceHolder
D. PlaceHolder
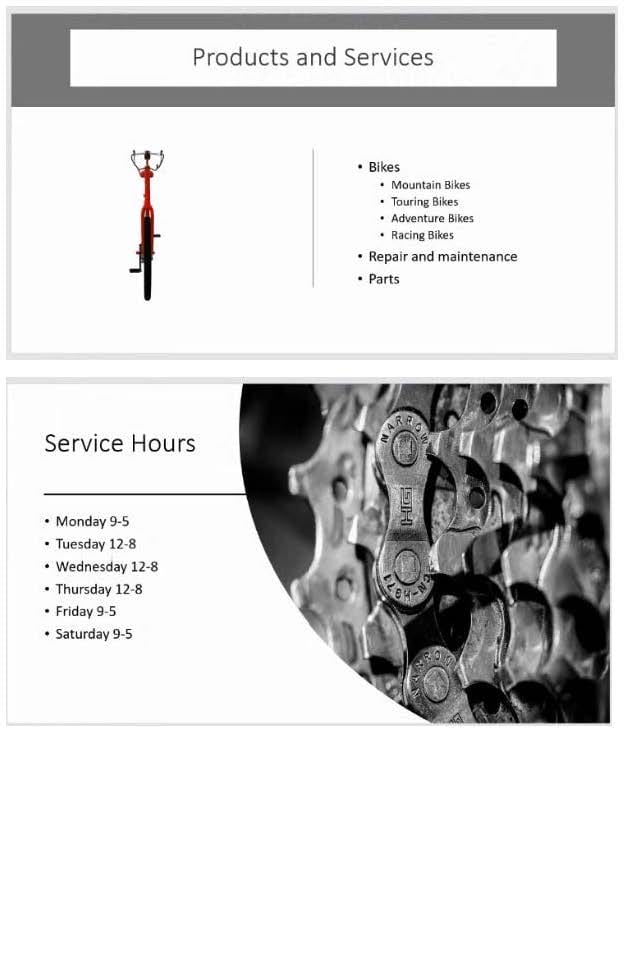
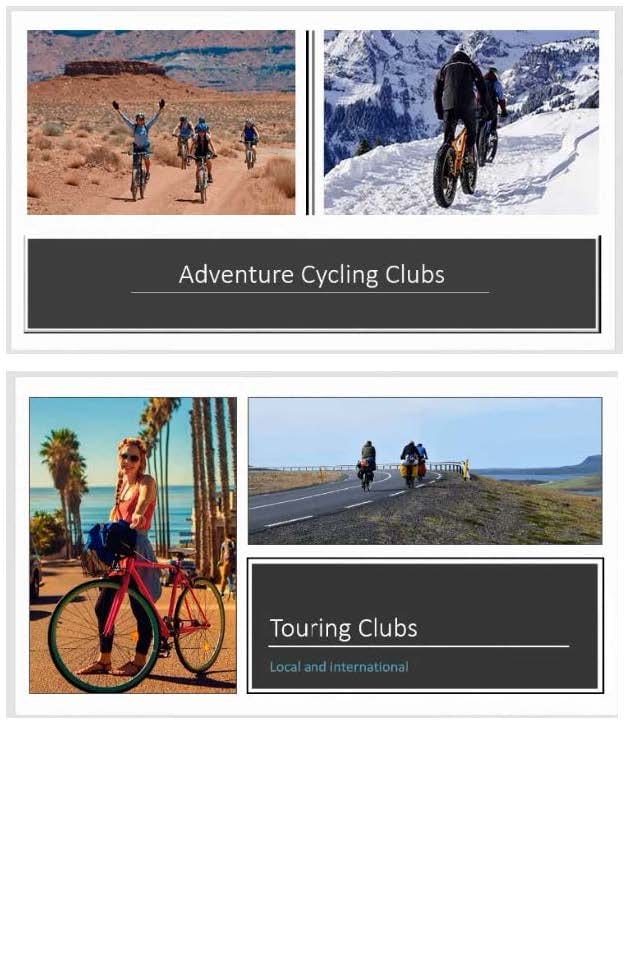
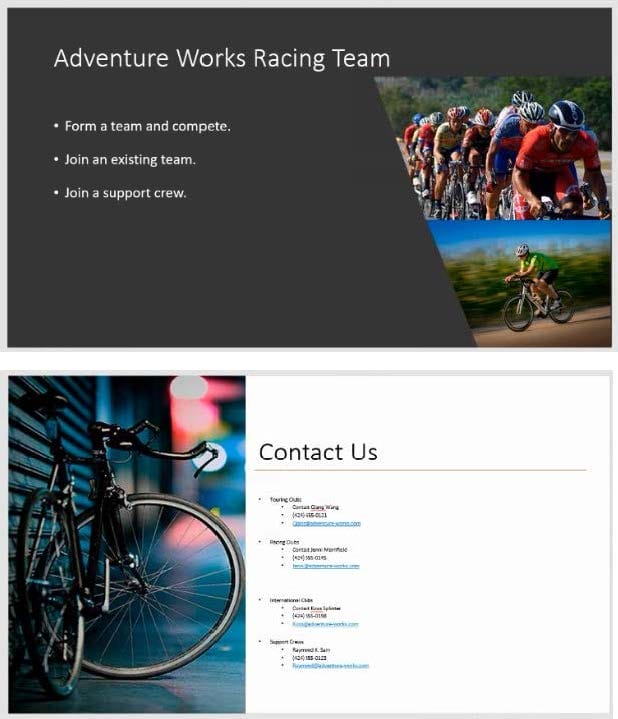
On slide 2, insert Section Zoom links to ‘’Section 2: Products and Services’’, Section 3:
Clubs an Teams’’, and ‘’Section 4: Contact US’’, Reposition the section thumbnails within the black
rectangle so they are not stacked on top of each other.
The exact order and location of the thumbnails do not matter.
A. See the steps below.
B. PlaceHolder
C. PlaceHolder
D. PlaceHolder
On slide 3, apply the Jump and Turn animation effect to the 3D model.
A. See the steps below.
B. PlaceHolder
C. PlaceHolder
D. PlaceHolder
On slide 3, change the view of the 3D model to left.
A. See the steps below.
B. PlaceHolder
C. PlaceHolder
D. PlaceHolder

